Interlock Driveway Contractor for Professional Driveway Paver Installation
As a paver driveway contractor, our focus is on the fundamentals that make an interlocking driveway last: base depth, compaction in lifts, edge restraints, bedding layer control, precise paver placement, and stable jointing. Those are the steps that prevent settlement, reduce movement, and keep the driveway looking clean years after installation.
For homeowners, this means a driveway that stays level and looks finished. For builders and general contractors, it means predictable execution, proper site coordination, and a driveway system that performs under real use.

Most Common Paver Driveway Options We Install

Herringbone Interlock Pattern
The strongest and most recommended driveway pattern. Interlocks tightly and resists braking and turning forces. This is the industry standard for vehicular applications.

Running Interlock Pattern
Linear, staggered layout similar to brickwork. Clean and simple. Performs adequately when edge restraint and base prep are done correctly, but not as strong as herringbone under turning loads.

Ashlar Interlock Pattern
Uses multiple paver sizes in a repeating modular layout. Good for large driveways to break up scale. Performance depends on correct sizing, repetition rules, and proper installation.
Chevron Interlock Pattern
Often confused with herringbone, but structurally different. Pavers are cut at angles and meet at a point. Visually sharper and more modern, but requires precision cutting and excellent base prep.

Basketweave Interlock Pattern
Classic alternating pairs. Works well visually but is best for light-use residential driveways. Not ideal for heavy traffic or tight turning zones.
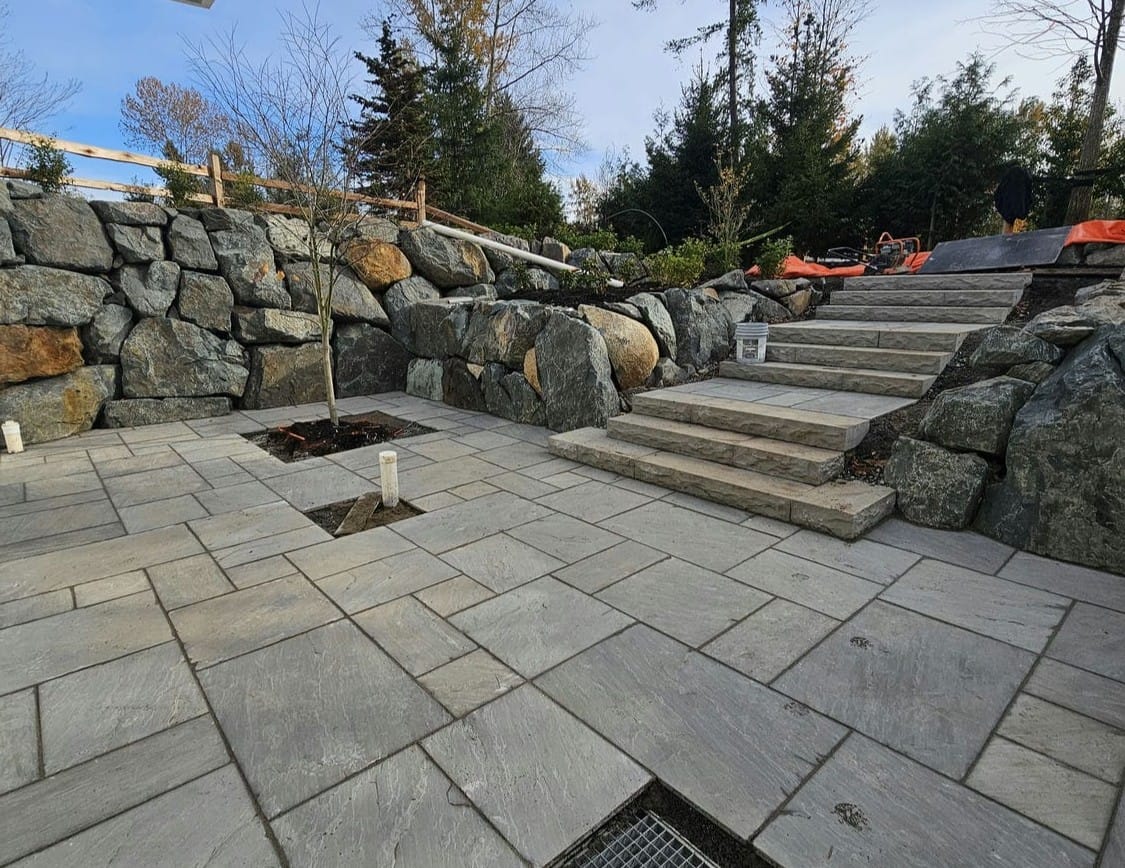
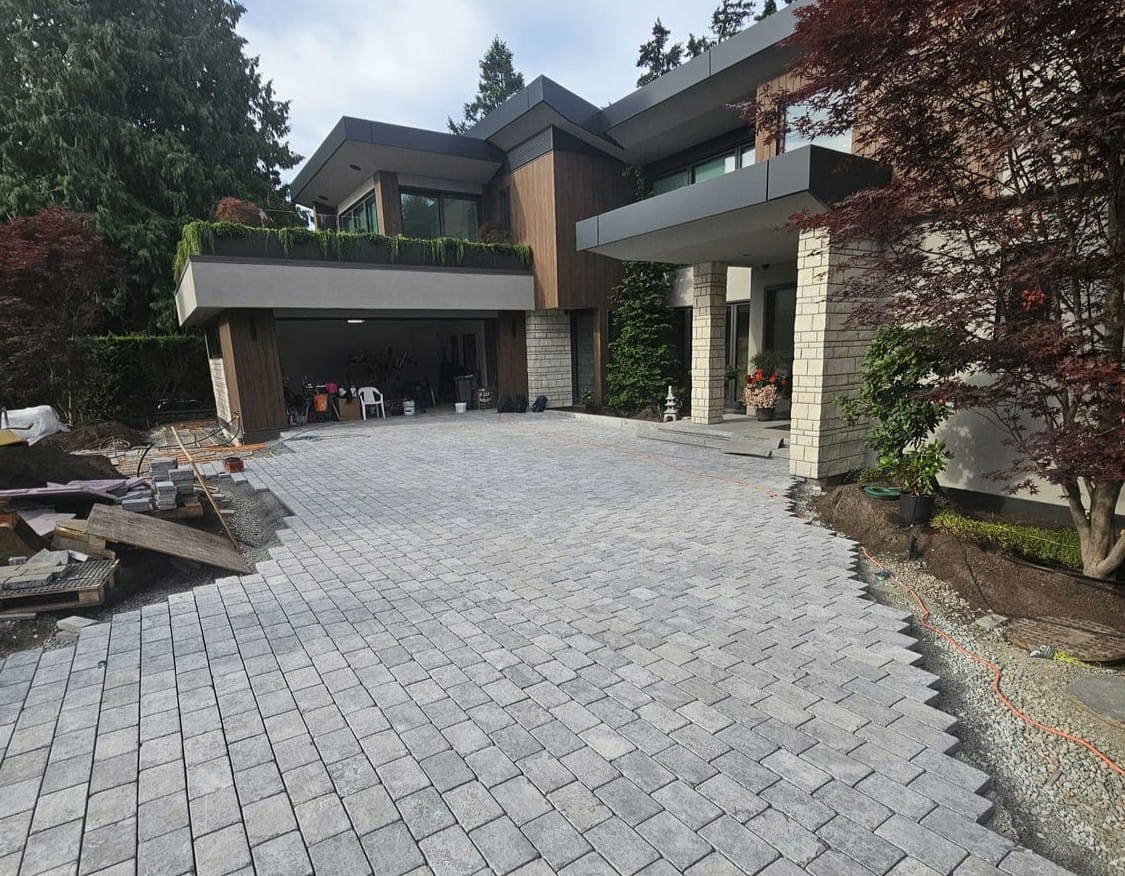
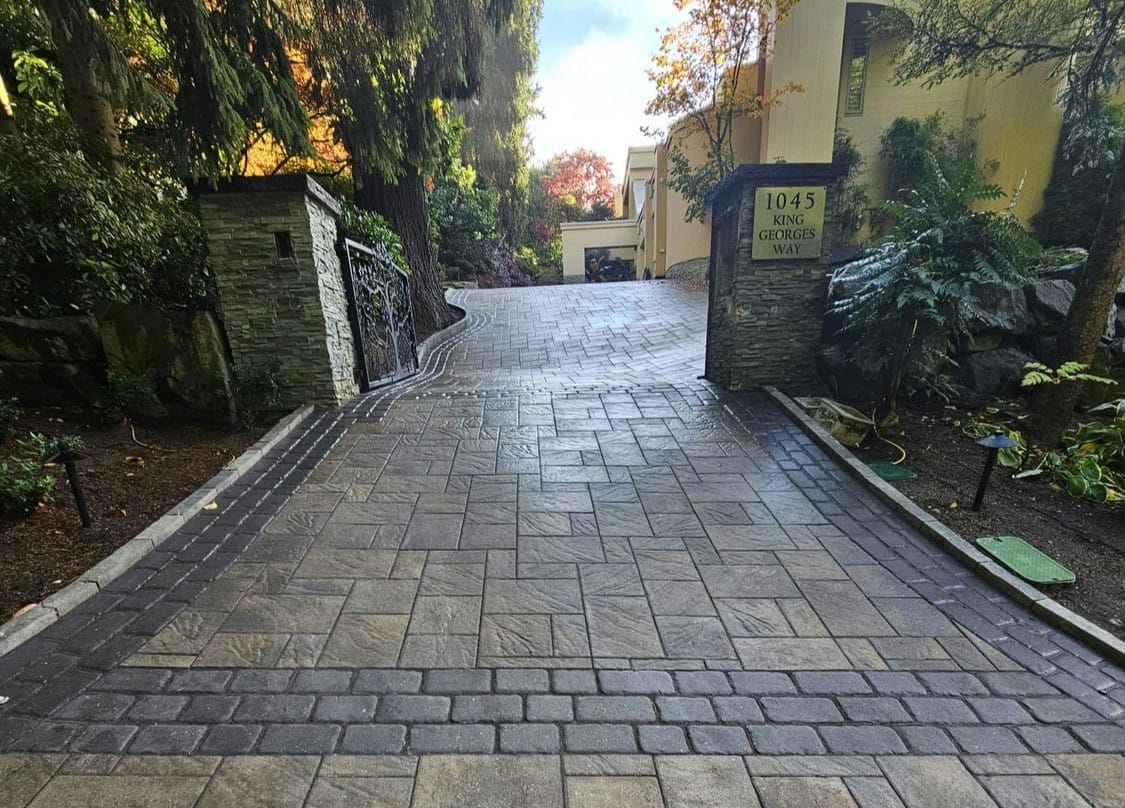
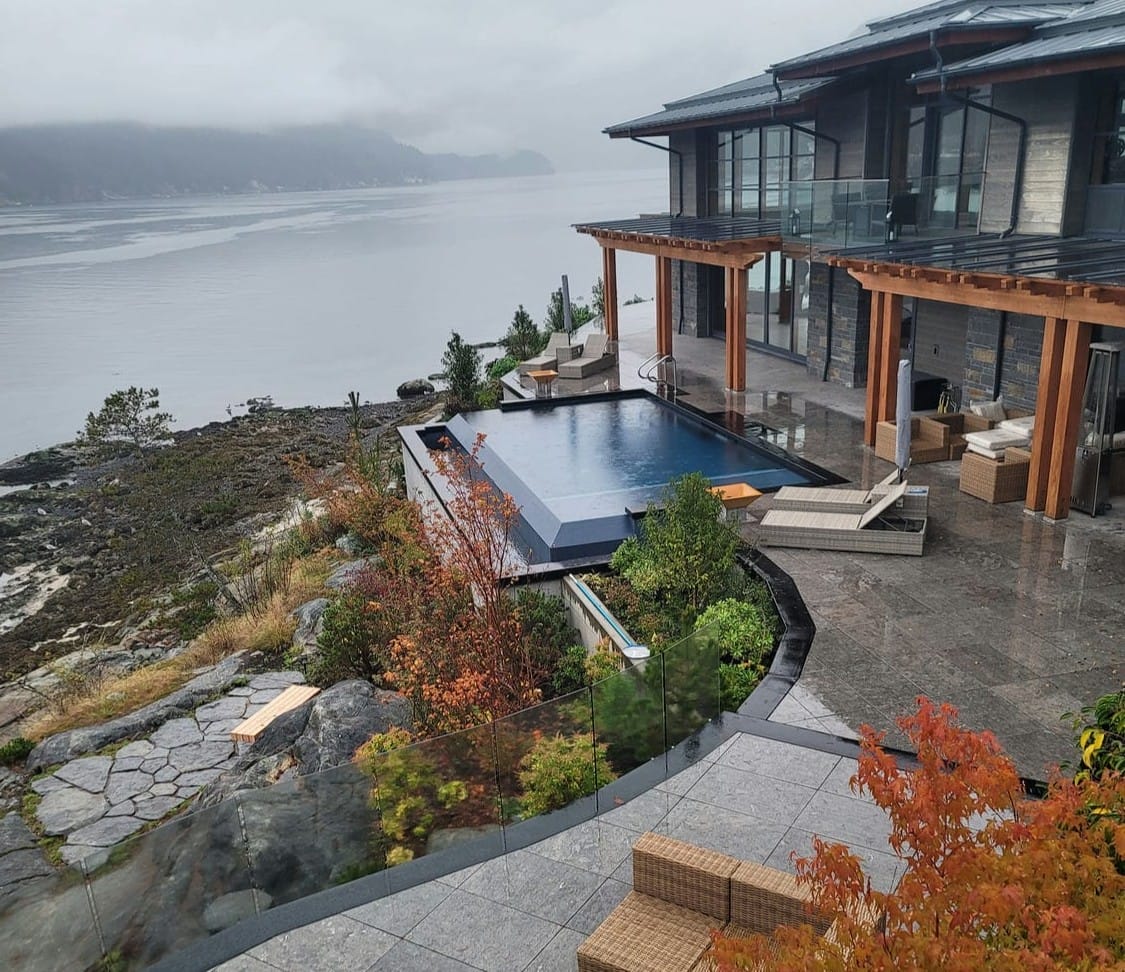
Our Projects
How We Ensure Your Interlock Driveway Withstands the Test of Time
A driveway should be built with a repeatable process that protects the end result. This is the sequence Umbrella Constructions uses to build interlocking paver driveways that stay strong and look clean.
Step 1
Site Assessment, Layout, and Grade Planning
We review the property conditions, driveway footprint, access, and how water currently moves across the site. Layout is established with correct elevations and slopes so the driveway sheds water properly and ties into the garage, curb, and walkways cleanly.
Step 2
Excavation to the Required Depth
Excavation is performed to the depth required for a driveway system, not a patio. The correct depth depends on soil conditions, intended loads, and design requirements. Removing unsuitable material and creating a stable excavation profile is essential for long-term performance.
Step 3
Base Installation and Compaction in Lifts
The base is built using appropriate crushed aggregate and compacted in controlled lifts. This is one of the most important steps in driveway paver installation. A properly compacted base supports load, limits settlement, and helps the surface stay level over time.
Step 4
Geotextile and Stabilization Where Required
In areas where soils are weaker or conditions demand it, geotextile fabric and stabilization methods can help separate soils and improve base performance. This is a practical decision based on the site, not a generic upsell.
Step 5
Grading and Drainage Control
We fine-tune grade and slope to prevent pooling and low spots. Good grading protects the driveway surface and supports the surrounding landscape and foundation edges by controlling runoff direction.
Step 6
Edge Restraints and Structural Containment
Edge restraints lock the driveway field in place. Without proper edge restraint, pavers can spread over time, joints widen, and edges fail. This step is critical for vehicle surfaces where lateral forces are common.
Step 7
Bedding Layer and Paver Placement
A controlled bedding layer is placed and screeded to consistent thickness. Pavers are installed according to the chosen pattern, aligned precisely, and cut cleanly at borders and transitions. This is where craftsmanship shows.
Step 8
Jointing and Final Compaction
Joint sand or polymeric sand is swept into the joints and compacted to lock pavers together. Final compaction seats the pavers and stabilizes the surface. Correct jointing is a major factor in long-term stability and weed resistance.
Step 9
Finishing Details and Quality Review
We complete final detailing at edges, aprons, and transitions, then review slope, alignment, and surface consistency. A driveway should look intentional, drain properly, and feel solid underfoot and under tire.

Interlock and Paver Driveway Services Across the Greater Vancouver Area
If you are a homeowner investing in curb appeal or a builder needing reliable driveway paver installation, Umbrella Constructions provides interlock driveway services across the Greater Vancouver Area, including:
Frequently Asked Questions
While every property and project is different, these questions address common considerations we discuss when designing and building interlocking driveways in the Greater Vancouver Area.
A properly installed interlocking paver driveway can last for 30-50 years. Lifespan depends heavily on base construction, compaction, drainage planning, and ongoing joint stability.