Natural Stone Walkways with a Premium Finish
Umbrella Constructions builds interlock walkways and natural stone walkways across the Greater Vancouver Area for homeowners, builders, and general contractors who want a clean, durable result that looks intentional from every angle.
A walkway does more than connect point A to point B. It shapes first impressions at the front entry, improves safety and day to day flow, and brings structure to the way a property is used. When a walkway is built properly, it feels solid underfoot, drains predictably, and holds its lines and finish through seasons of rain and temperature change.
Walkway Design and Layout Options

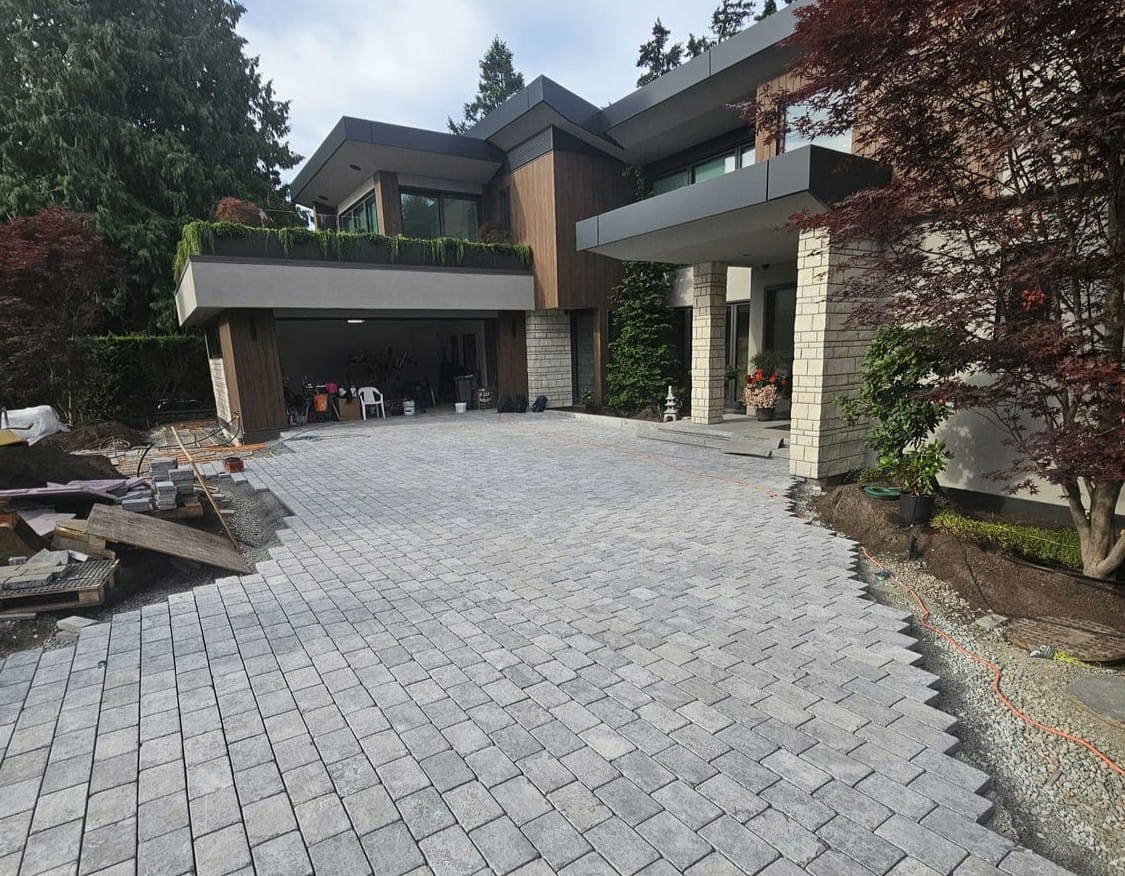
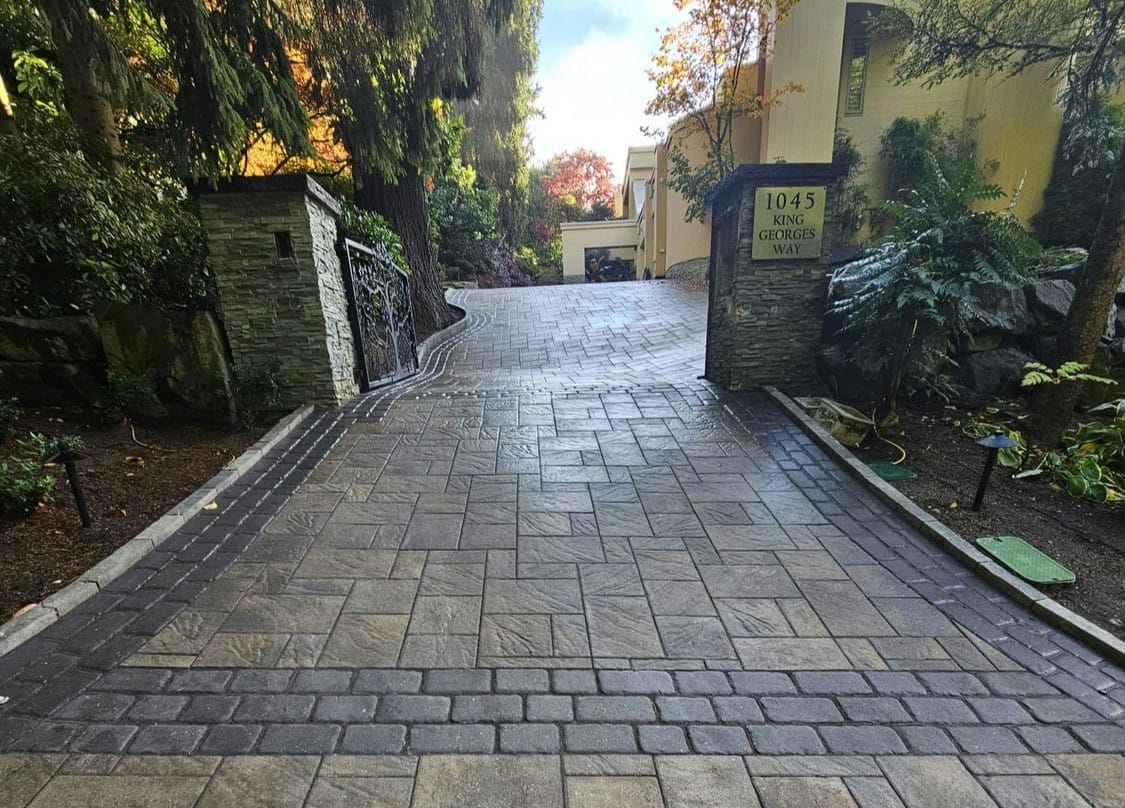
Straight, Curved, and Multi-Route Layouts
We select straight layouts for a crisp, direct approach and curved layouts to create a more refined, landscaped feel. On larger properties, multi-route designs improve circulation and help outdoor spaces function more efficiently.

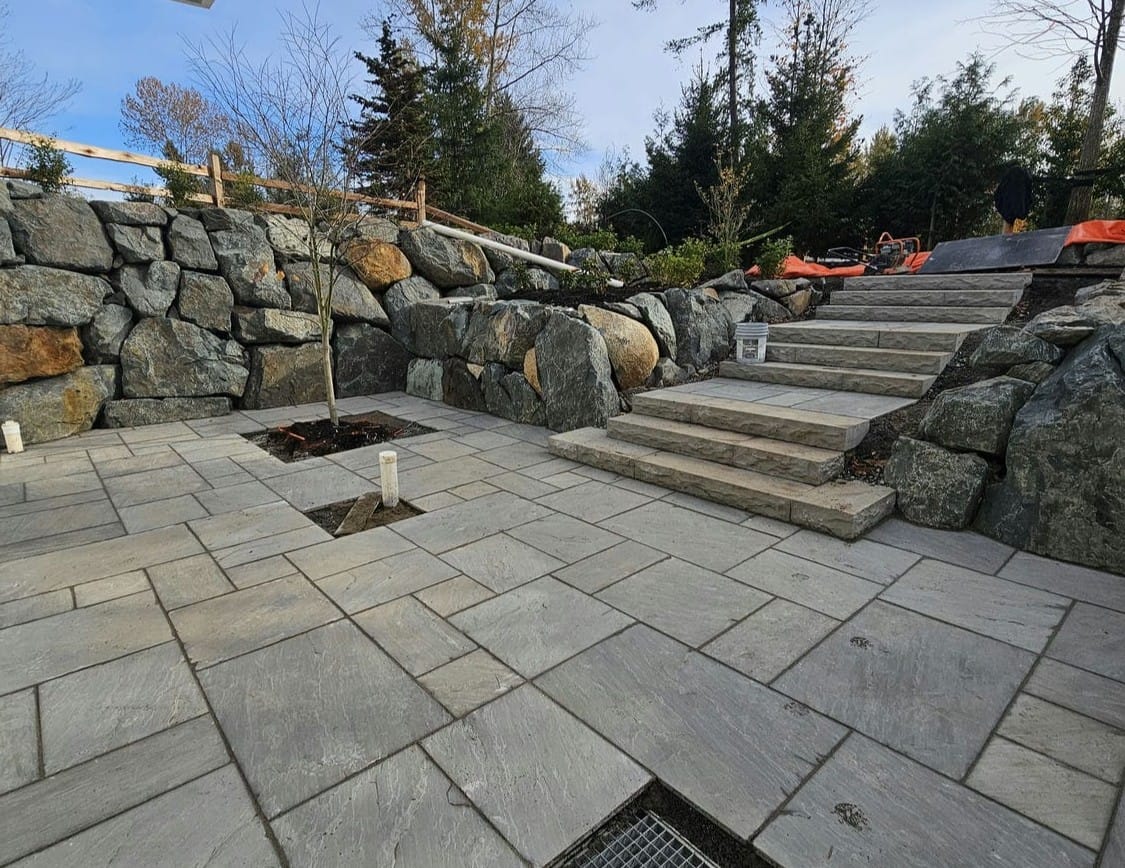
Steps, Landings, and Entry Transitions
Grade changes are built with precision. We construct steps and landings that feel solid underfoot and connect seamlessly to driveways, porches, patios, and gates, eliminating awkward breaks and uneven transitions.

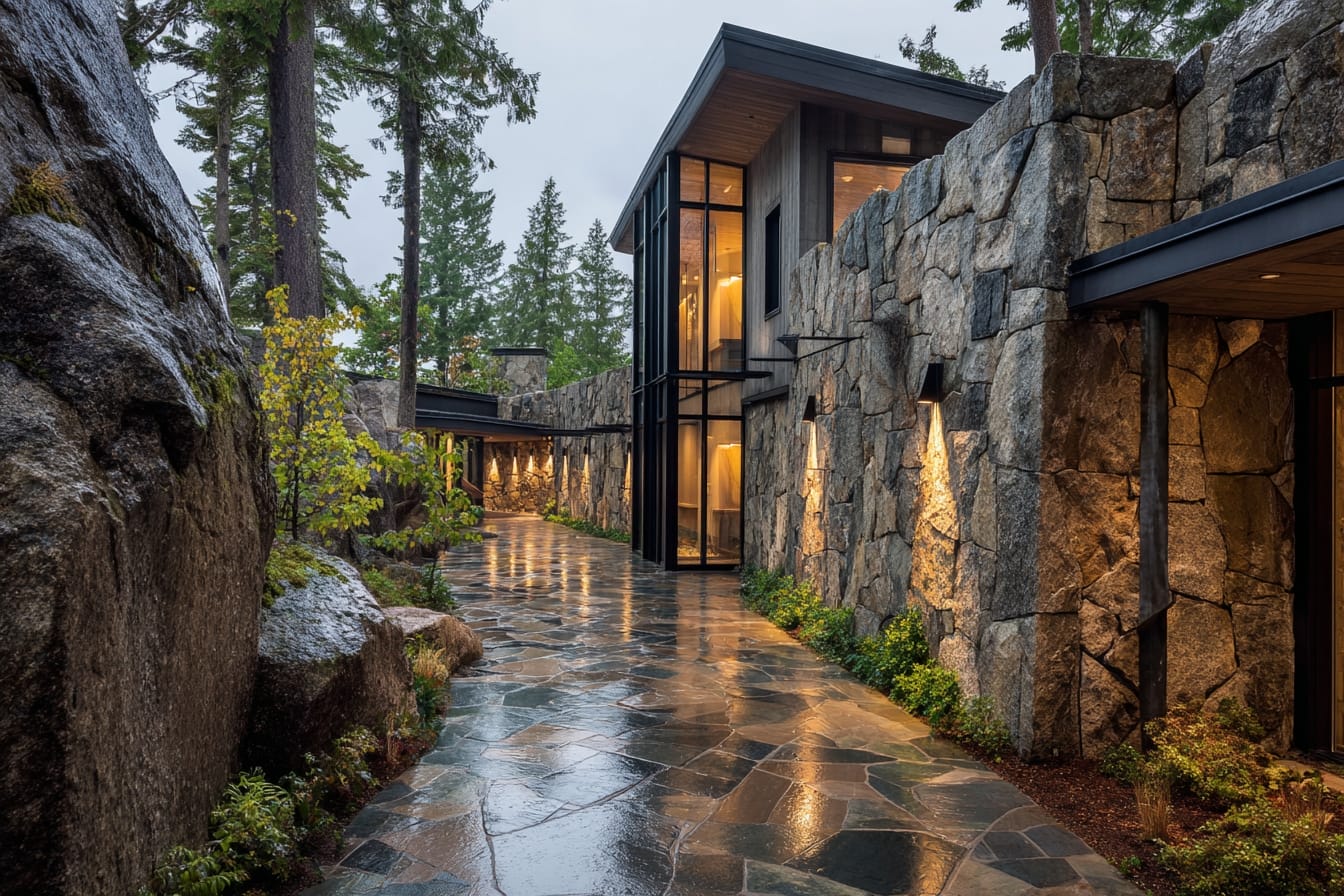
Lighting and Feature Integration
Lighting and feature elements are integrated during planning to enhance safety, usability, and presentation, ensuring the walkway feels like a finished part of the outdoor space, not an afterthought.
Our Projects
How We Build Your Walkway, The Right Way
Walkways fail for predictable reasons: weak base preparation, poor compaction, insufficient edge containment, and grading that allows water to sit where it should not. A controlled installation sequence prevents those issues and protects the finished look.
Step 1
Site Review, Layout, and Elevation Planning
We establish the walkway route, width, elevations, and transitions. This includes aligning with doors, steps, driveway edges, and patio tie-ins, while planning slope for drainage and comfort.
Step 2
Excavation to Required Depth
Excavation depth is determined by soil conditions, walkway type, and site use. Removing unsuitable material and preparing the subgrade properly sets the foundation for long-term stability.
Step 3
Base Installation and Compaction in Lifts
Base aggregates are installed in controlled lifts and compacted thoroughly. This is one of the most important parts of walkway construction and one of the most common places shortcuts cause failures.
Step 4
Grading and Drainage Control
We avoid low spots and plan consistent slope so water sheds predictably, especially in front entry areas and along side yard routes where water can become a recurring problem.
Step 5
Edge Restraints and Border Preparation
Edge restraint locks the system in place and helps the walkway hold its shape. Proper containment is key to preventing pavers from spreading and joints from opening over time.
Step 6
Bedding and Surface Installation
We prepare the bedding layer and install pavers or stone with consistent height control, alignment, and clean transitions to surrounding elements.
Step 7
Cuts, Detailing, and Alignment Checks
Cuts are finished cleanly, corners stay tight, and transitions are refined. This is where a walkway begins to look professional rather than simply installed.
Step 8
Jointing and Final Compaction
For paver walkways, jointing material is installed and compacted to lock the system together. Polymeric sand may be used where appropriate based on the design and site conditions.

Stone Walkway Contractor Serving Greater Vancouver
Greater Vancouver conditions demand disciplined base and grading work, especially for walkways that see constant foot traffic and year-round rainfall. Our work is planned and built to perform consistently across the region.
Frequently Asked Questions
These are the questions we are most often asked as walkway projects move from planning into construction and long-term use.
A properly installed interlock walkway can last for decades. Lifespan depends heavily on base depth, compaction quality, edge restraint, jointing, and how well grading controls water movement.